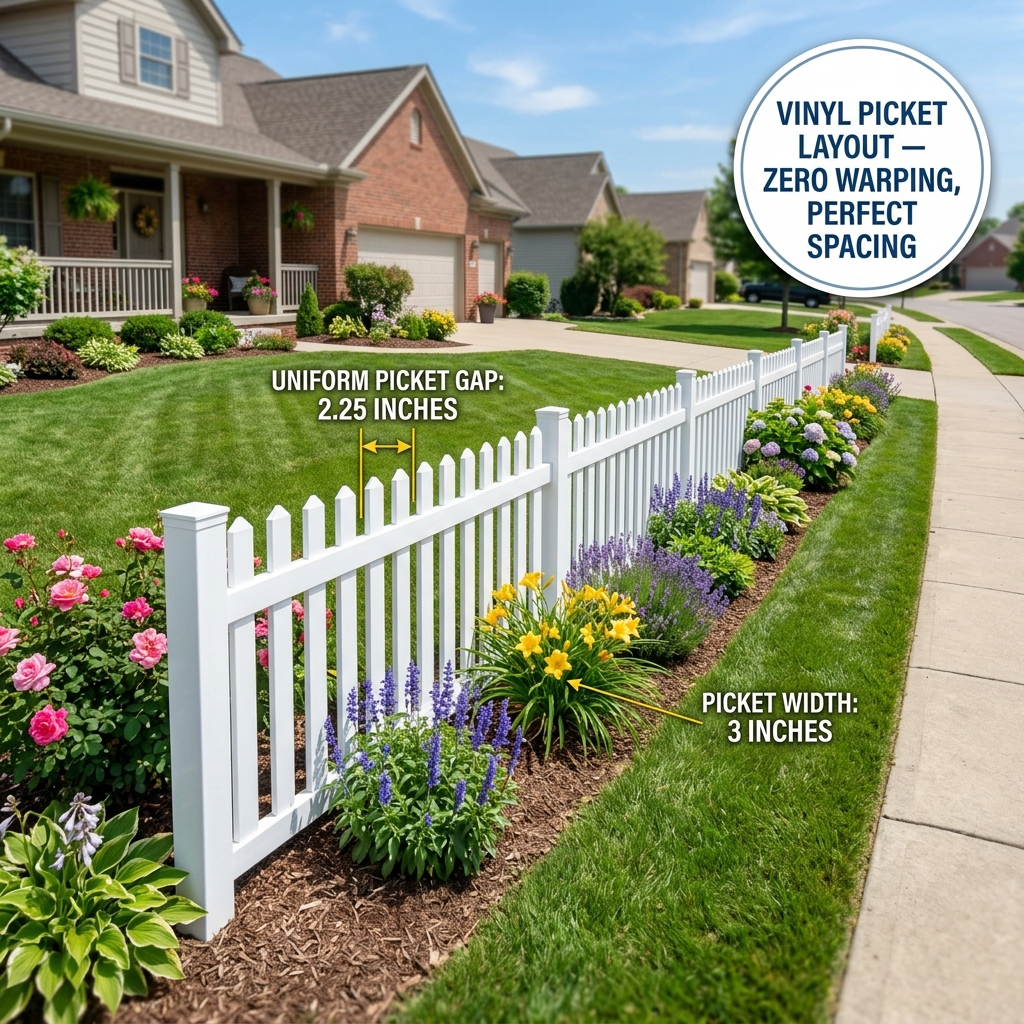
Building a wooden picket fence is one of the highest-ROI DIY home improvement projects. A well-constructed picket fence demarcates property boundaries, keeps children and dogs secure, and enhances your home’s exterior curb appeal.
However, building a fence that stands straight for decades without sagging rails, rotting posts, or uneven picket gaps requires following a strict carpenter workflow.
If you are new to the terminology, review our introductory overview on What Is a Picket Fence? The Complete Homeowner & Builder Guide to familiarize yourself with stringers, post caps, and basic architectural styles.
Below is the complete, contractor-verified step-by-step guide to building a picket fence from ground layout to final coat.
Tool & Material Checklist
Before driving stakes or digging post holes, stage all tools and lumber on site.
Tools Required
- Layout & Leveling: Mason string line, wooden batter boards/stakes, 4-foot carpenter’s level, post level (two-direction vial), line level, 100-foot tape measure.
- Excavation: Post hole digger, heavy digging bar (san angelo bar), shovel, wheelbarrow (for concrete mixing).
- Carpentry & Fastening: Cordless drill/impact driver, circular saw or miter saw, speed square, pneumatic siding nailer or cordless screw gun.
- Safety Gear: Work gloves, safety glasses, ear protection, dust mask (for concrete dust).
Materials Required
- Posts: $4\times4$ pressure-treated pine or Western Red Cedar (typically 6-foot or 8-foot lengths).
- Horizontal Rails (Stringers): $2\times4$ pressure-treated lumber (standard 8-foot lengths).
- Pickets: $1\times4$ or $1\times6$ cedar, redwood, or treated pine pickets (36” to 48” high).
- Foundations: 50-lb bags of fast-setting concrete mix (1.5 to 2 bags per post) and crushed gravel for drainage.
- Fasteners: 3-inch exterior-rated deck screws (for rails) and 1-3/4” or 2” 304/316 stainless steel or hot-dipped galvanized ring-shank nails / screws (for pickets).
Phase 1: Permits, Property Lines, and Building Codes
The most expensive mistake in fence construction is placing a fence even 2 inches over a neighbor’s property line or violating municipal zoning codes.

- Locate Boundary Pins: Locate your legal iron survey pins or hire a licensed land surveyor. Never assume existing trees or neighboring landscaping represent the legal boundary.
- Call 811 Before Digging: In the US and Canada, call 811 at least 48 to 72 hours before breaking ground to have underground electric, gas, water, and fiber optic lines marked.
- Verify Local Zoning & Pool Codes: Municipalities typically restrict front yard fence heights to 36 to 48 inches and enforce maximum picket gaps. If your fence surrounds a swimming pool or encloses toddlers, read our detailed guide on Fence Picket Spacing Codes & Swimming Pool Safety Standards to comply with the International Residential Code (IRC) 4-inch sphere rule.
- Establish String Lines: Drive wooden stakes 2 feet beyond each end of your proposed fence run. Tie high-visibility mason string between the stakes, pulled taut. This string represents the exact exterior face of your fence posts.
Phase 2: Sizing Materials & Calculating Lumber Quantities
Accurate material estimation prevents mid-project supply runs and reduces lumber scrap.
1. Account for Nominal vs Actual Lumber Sizes
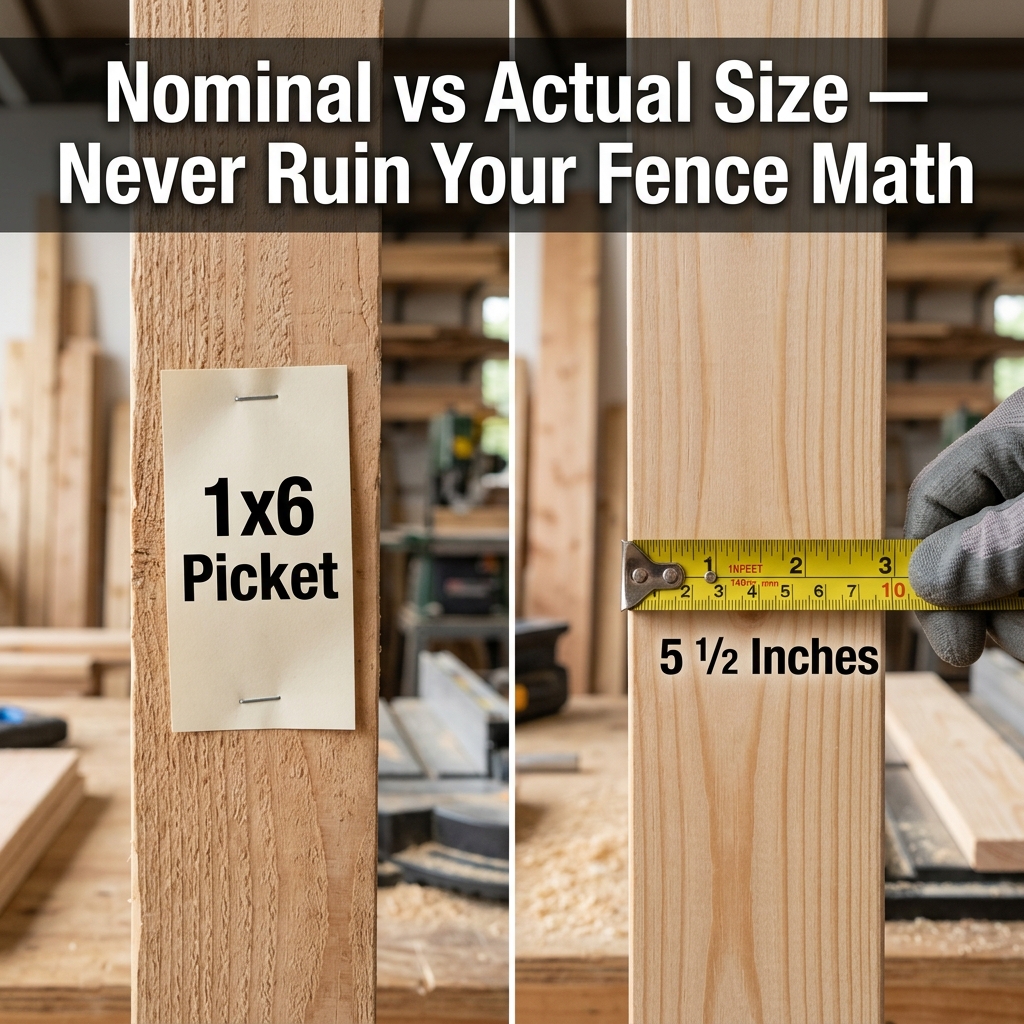
Lumber dimensions at the store do not match actual tape-measure widths. A $1\times4$ picket is actually $3.5\text{ inches}$ wide, while a $1\times6$ picket is $5.5\text{ inches}$ wide. Always calculate using actual milled dimensions. Refer to our reference chart on Standard Fence Picket Sizes & Dimensions: Nominal vs Actual Guide for full metric and imperial conversions.
2. Calculate Pickets Per Section
Standard fence bays are spaced 8 feet on-center ($96\text{ inches}$). To see exact picket numbers for standard $1.5\text{‘’}$, $2\text{‘’}$, and $2.5\text{‘’}$ gaps, consult our clear-span breakdown: How Many Pickets Do You Need for an 8-Foot Fence Panel?.
[!TIP] Don’t do manual arithmetic on scrap lumber. Use our interactive Fence Picket Spacing Calculator to instantly calculate exact board counts, gap widths, and waste factors for any run length.
Phase 3: Digging Post Holes and Setting Posts
A fence is only as sturdy as the posts anchoring it into the ground.
Step 1: Mark Post Spacing
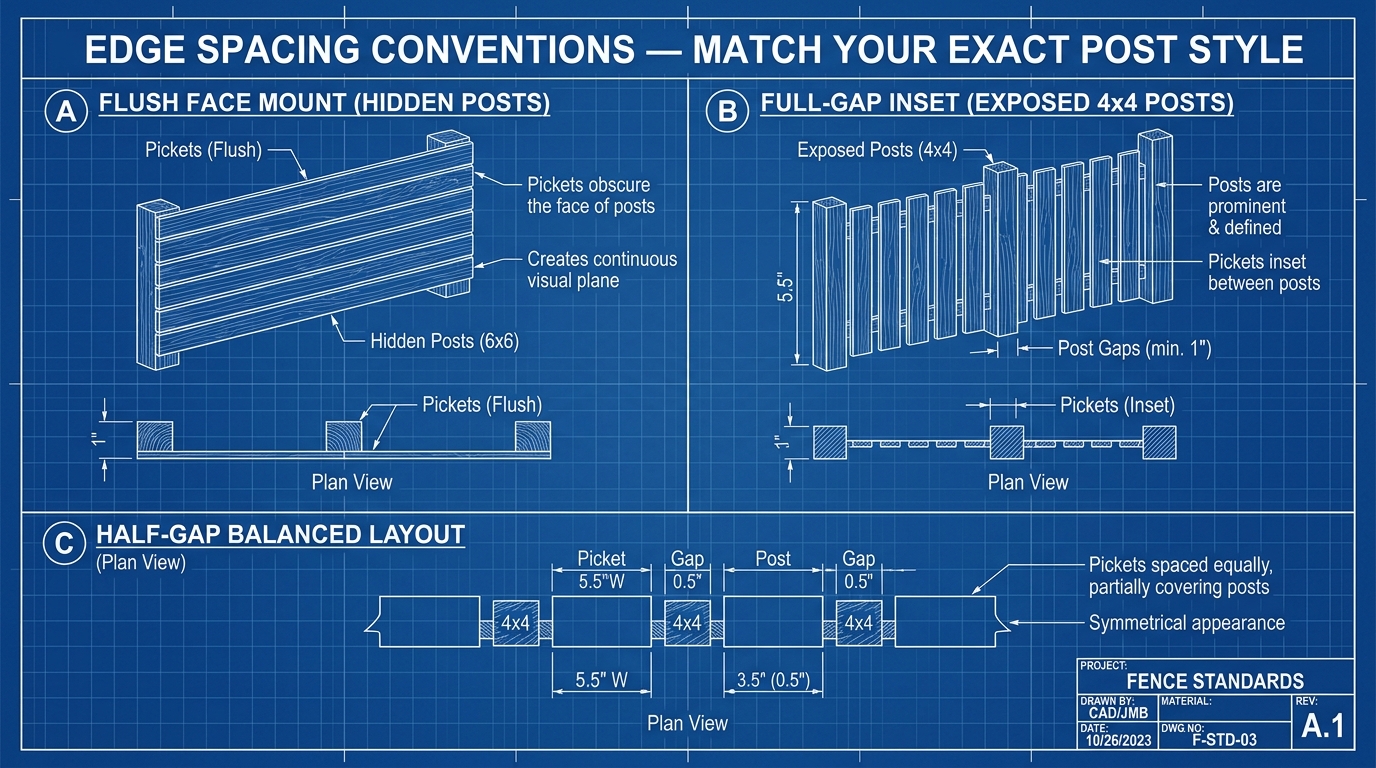
Mark hole centers along your mason string line at 96 inches on-center (or slightly less, such as 94 inches, to ensure 8-foot $2\times4$ rails span comfortably across post centers).
Step 2: Dig Below the Frost Line
- Depth: Posts should be buried to a depth equal to 1/3 to 1/2 of their total length, and always below your region’s local frost line (typically 24 to 36 inches deep).
- Diameter: The hole diameter should be three times the width of the post (a 10-inch to 12-inch diameter hole for a $4\times4$ post).
Step 3: Add Drainage Gravel
Pour 3 to 4 inches of crushed gravel into the bottom of the hole and tamp it flat. This allows groundwater to drain away from the post end-grain, preventing premature fungal decay and rot.
       POST FOUNDATION CROSS-SECTION

         | |             | |  <-- 4x4 Wood Post
   ======| |=============| |====== Ground Grade
     |   | |  Concrete   | |   |
     |   | |   Collar    | |   |  24" to 36"
     |   | +-------------+ |   |  Hole Depth
     |   |  Crushed Gravel |   |  (Below Frost Line)
   ======+-----------------+======
Step 4: Plumb and Pour Concrete
- Set the $4\times4$ post into the hole against your layout string.
- Attach a two-direction post level to check plumb on both adjacent faces.
- Pour fast-setting concrete mix around the post up to 2 inches below ground grade.
- Add clean water per the manufacturer’s ratio (or pre-mix in a wheelbarrow).
- Trowel the top concrete surface so it slopes gently away from the wood to shed rainwater.
- Allow concrete to cure fully (24 to 48 hours for full structural load) before installing heavy rails.
Phase 4: Installing Horizontal Support Rails (Stringers)
Horizontal $2\times4$ rails tie the posts together and provide the structural frame that supports your vertical pickets.
       RAIL POSITIONING ON 4x4 POST

      +-----------------------------+
      |  4x4 Post                   |
      |   +-----------------------+ |
      |   | Top Rail (2x4)        | |  <-- 6" to 8" below picket tops
      |   +-----------------------+ |
      |                             |
      |                             |  <-- Mid Rail (recommended if height > 4 ft)
      |                             |
      |   +-----------------------+ |
      |   | Bottom Rail (2x4)     | |  <-- 8" to 10" above ground grade
      |   +-----------------------+ |
      +---|-------------------------|
=== Ground Line (2" picket clearance) ===- Rail Heights:
- Top Rail: Position 6 to 8 inches below where the tops of your pickets will sit.
- Bottom Rail: Position 8 to 10 inches above ground grade. This allows pickets to hang down with a 2-inch air gap above the turf to prevent ground moisture absorption.
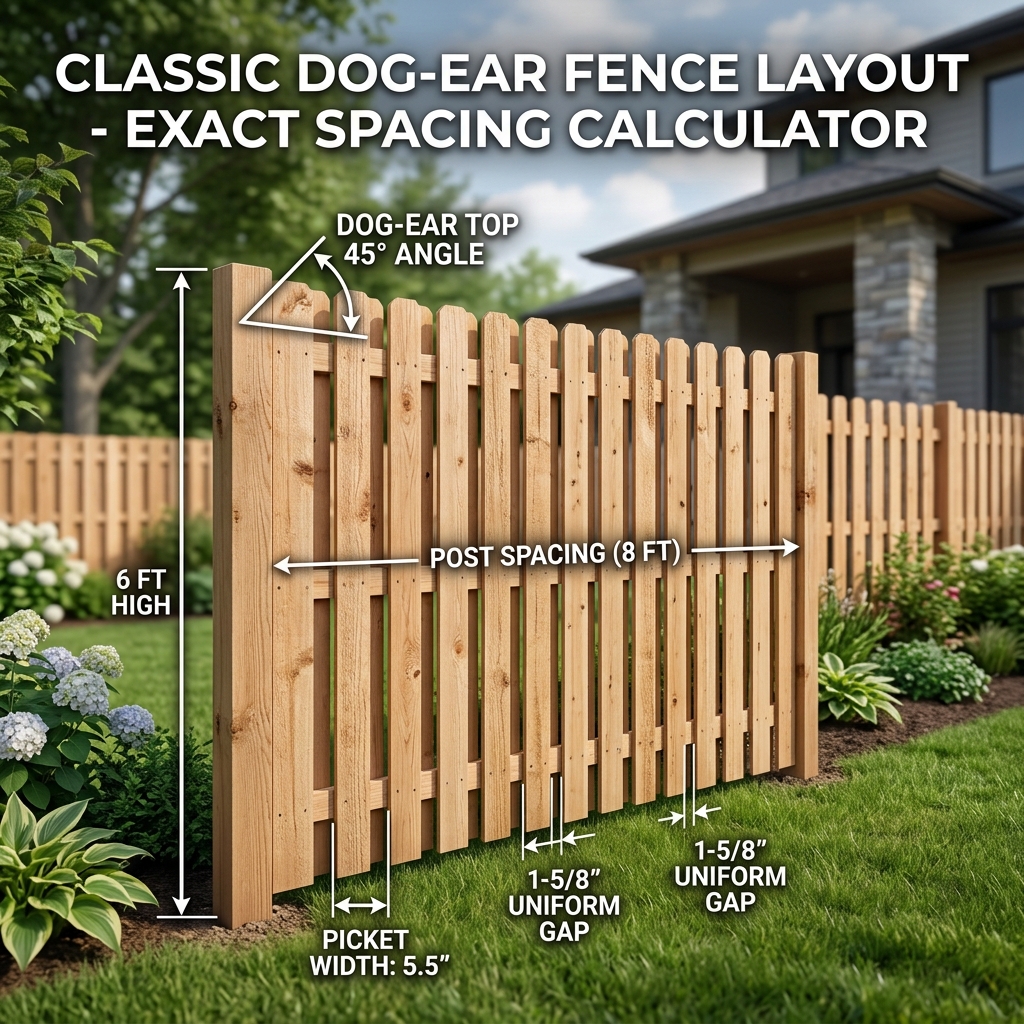
- Middle Rail: For fences taller than 4 feet (e.g., 5-foot or 6-foot dog-ear fences), add a third horizontal rail midway between the top and bottom to eliminate board warping.
- Fastening Rails to Posts:
- Face-Mount: Screw the $2\times4$ rails directly across the exterior faces of the posts using two 3-inch exterior deck screws per post connection.
- Inset-Mount (Between Posts): Cut $2\times4$ rails to fit snugly between post faces and secure with heavy-duty galvanized structural fence brackets.
Phase 5: Calculating Spacing & Attaching Pickets
Uniform spacing distinguishes professional carpentry from amateur installation.
The Spacing Math
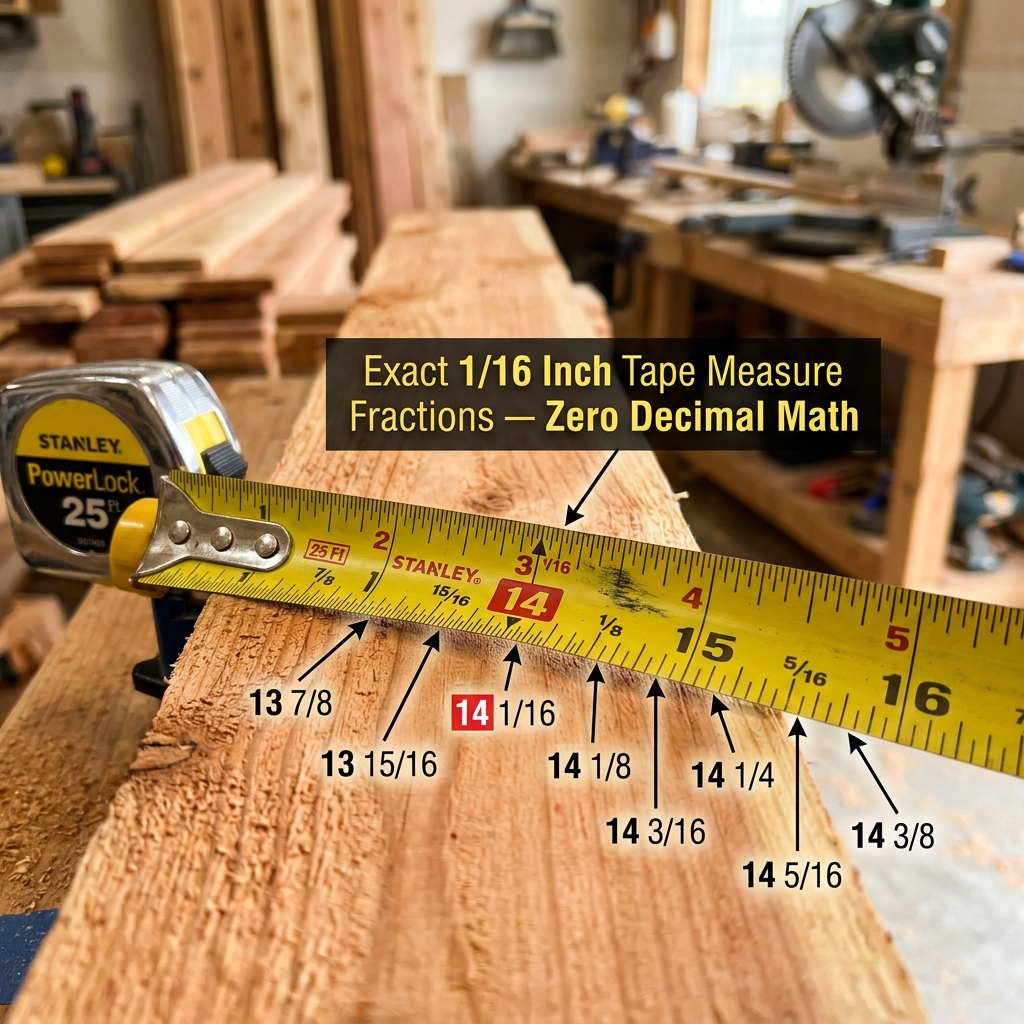
To avoid uneven board widths at the end of each bay, calculate the exact spacing gap before nailing:
$$\text{Exact Gap} = \frac{\text{Clear Span} - (\text{Number of Pickets} \times \text{Picket Width})}{\text{Number of Pickets} + 1}$$
For step-by-step mathematical examples, spacer block fabrication techniques, and ways to eliminate cumulative tape measure errors, read our comprehensive tutorial: How to Space Fence Pickets Evenly: Contractor Math & Spacer Jig Guide.
Fastening Best Practices
- Snap a Level Chalk Line: Snap a horizontal chalk line along the top of your posts (or run a string line) at your target picket top elevation.
- Install the First Board: Attach the first picket plumb against your starting post using a 2-foot level.
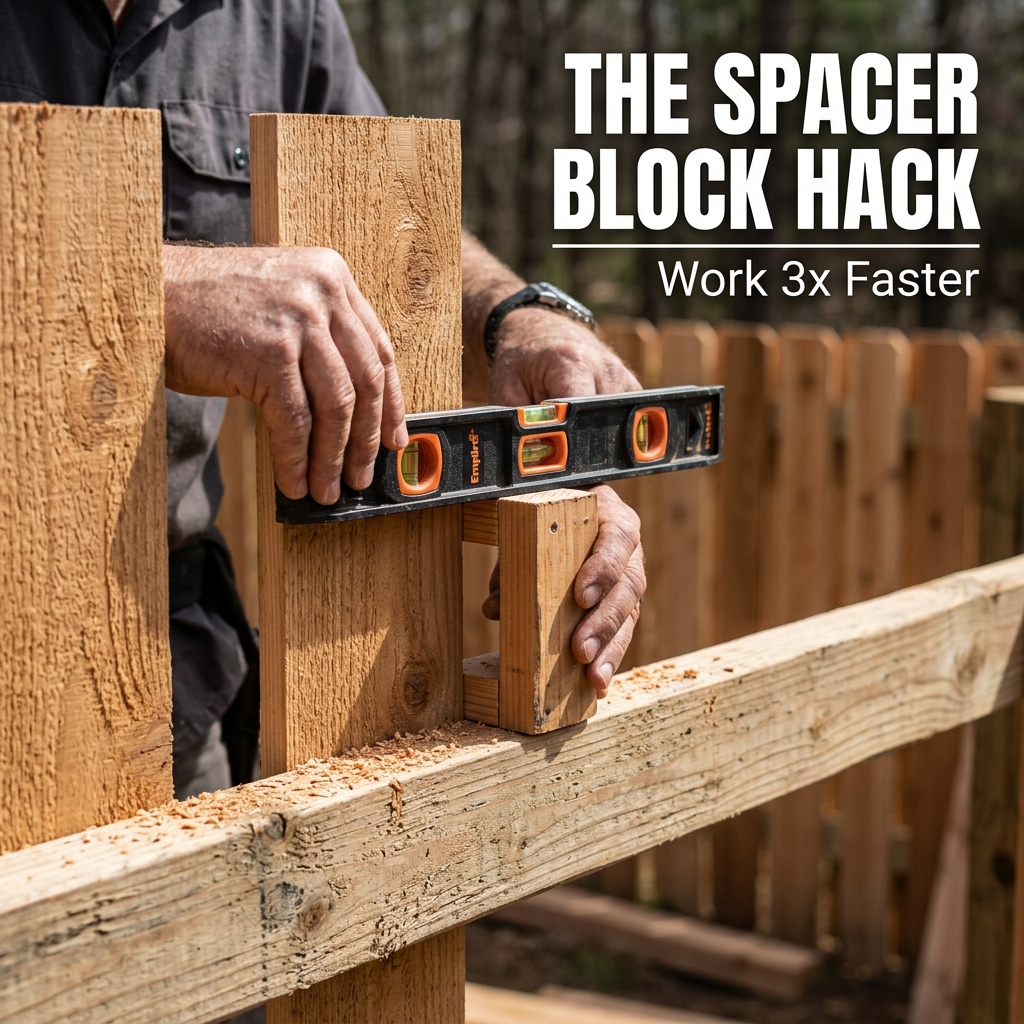
- Use a Spacer Block: Hold your custom wooden spacer block against the edge of the first picket, slide the next picket tight against the spacer, align the top edge with your string line, and fasten.
- Fastener Pattern: Drive two fasteners per rail intersection (4 fasteners total for a 2-rail fence; 6 fasteners for a 3-rail fence). Stagger fasteners slightly across the grain to prevent splitting the board ends.
[!IMPORTANT] Always use 304 or 316 stainless steel or high-quality hot-dipped galvanized ring-shank nails or screws. Standard zinc-plated or interior drywall screws will corrode and leave black tannin-bleed stains down cedar and redwood within months.
Phase 6: Framing and Hanging the Gate
A sagging fence gate is an eyesore. Build a rigid gate frame to withstand thousands of swing cycles.
- Leave Clearances: Frame the gate rough opening $1\text{ to } 1.25\text{ inches}$ narrower than the clear opening between gate posts (allowing $1/2\text{‘’}$ for hinges, $3/8\text{‘’}$ for the latch, and $1/4\text{‘’}$ for seasonal wood expansion).
- Build a Compression “Z-Brace”:
- Build a square outer box frame with $2\times4$ lumber on edge.
- Install a diagonal brace running from the bottom hinge corner upward to the top latch corner. This puts the diagonal member under compression, transferring gate weight directly into the bottom hinge post.
- Hardware: Use heavy-duty, powder-coated exterior strap hinges and an adjustable self-closing gate latch.
Phase 7: Finishing, Staining, and Weatherproofing
Raw lumber exposed to sun UV rays and rainwater turns gray and cracks without protective finish.
- Moisture Content Check: If you built with fresh, wet pressure-treated pine, let the wood dry for 2 to 6 weeks until a splash of water absorbs into the grain rather than beading on top. Western Red Cedar and Redwood can be sealed immediately.
- Seal Cut Ends: Treat any field-cut post tops or trimmed picket ends with an exterior copper naphthenate wood preservative.
- Stain or Paint Application:
- Semi-Transparent Oil Stain: Highlights natural wood grain, penetrates deep, and won’t peel or blister. Requires re-application every 2 to 3 years.
- Solid Acrylic Exterior Paint: Provides the classic solid-white picket fence aesthetic. Always apply an exterior oil-based stain-blocking primer first to prevent cedar tannin bleed-through.
Contractor Summary & Reference Matrix
| Construction Phase | Critical Specification | Common Pitfall to Avoid |
|---|---|---|
| Site Layout | Property line setback + Call 811 | Digging into underground utility lines |
| Post Footing | 24”–36” deep (below frost line) + 4” gravel base | Setting wood directly on dirt without gravel drainage |
| Rails (Stringers) | $2\times4$ lumber, 2-3 rails per panel | Spanning greater than 8 feet without mid-support |
| Picket Clearance | 2” gap above ground grass/mulch line | Letting pickets touch wet soil (leads to rot) |
| Picket Spacing | Uniform calculation + spacer block jig | Cumulative tape measure error across 8-ft span |
| Fasteners | Stainless steel or hot-dipped galvanized | Using interior screws that cause black tannin rust stains |
Related Guides & Planning Tools
Continue planning your fence installation with our complete library of builder guides:
- Mathematical Spacing: How to Space Fence Pickets Evenly: Contractor Math & Spacer Jig Guide
- Lumber Estimation: How Many Pickets Do You Need for an 8-Foot Fence Panel?
- Sizing & Lumber Profiles: Standard Fence Picket Sizes & Dimensions: Nominal vs Actual Guide
- Legal Codes & Pool Safety: Fence Picket Spacing Codes & Swimming Pool Safety Standards
- Anatomy & Fundamentals: What Is a Picket Fence? The Complete Homeowner & Builder Guide
- Online Calculation: Calculate your custom project immediately on the Fence Picket Spacing Calculator!