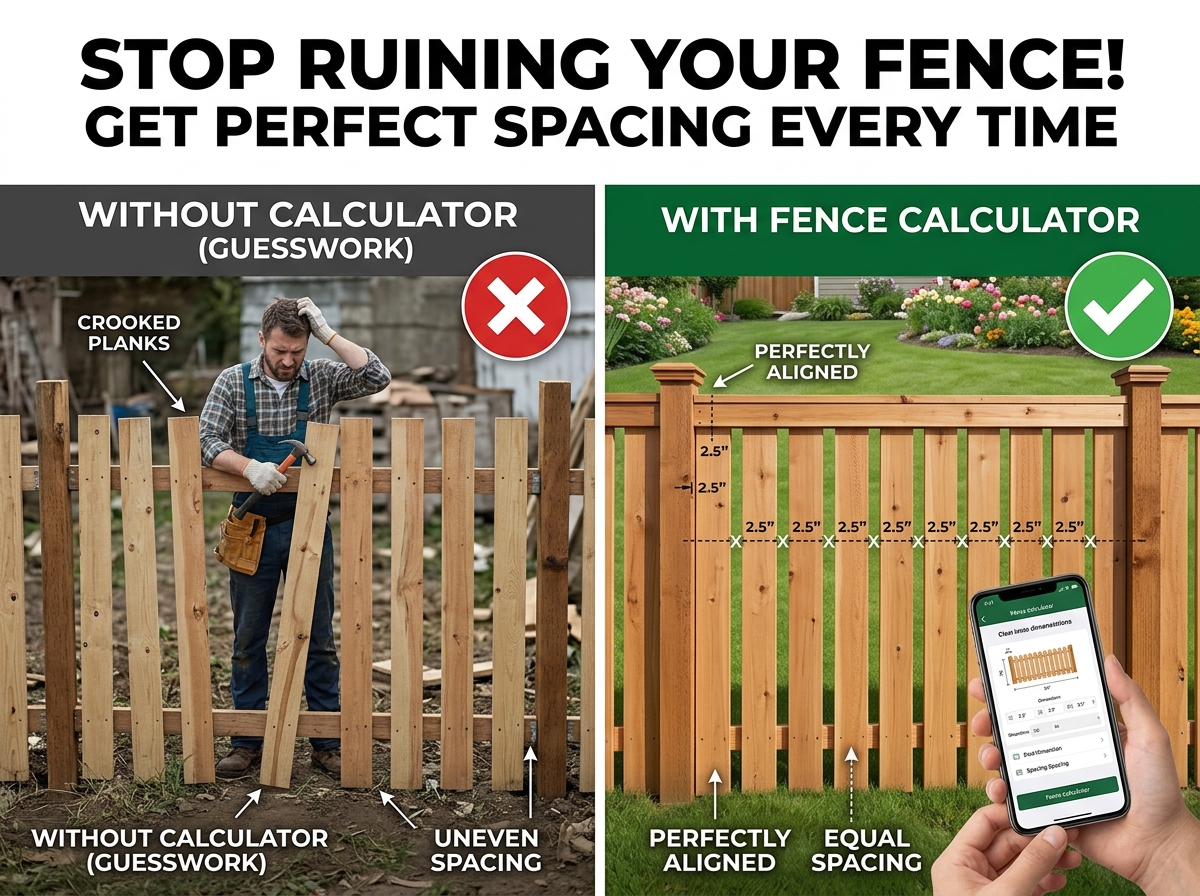
Installing a picket fence that looks visually flawless from one post to the next requires one critical thing: mathematical consistency.
When pickets have varying gaps—say 2.25 inches near the left post and 1.75 inches near the right post—the human eye immediately detects the uneven rhythm. Even worse, if you measure picket by picket using a tape measure, tiny fractional reading errors compound across a 96-inch run, leaving an unsightly 0.5-inch sliver or a gaping hole at the end post.
In this contractor guide, you will learn the exact formulas professionals use to calculate equal picket gaps, how to make and calibrate custom spacer jigs, and how to avoid the most common installation pitfalls.
1. The Core Formula for Equal Picket Spacing
Before driving a single nail or setting up a string line, you must establish whether your fence uses Equal End Gaps or Flush Ends.
Case A: Equal End Gaps (Standard Post-to-Post Spacing)
In standard residential picket fences, the opening between posts has pickets distributed such that the gap against the posts matches the gaps between each picket.
The mathematical relationship is:
$$\text{Clear Opening } (L) = (N \times w) + ((N + 1) \times g)$$
Where:
- $L$ = Clear span distance between post faces (inches or mm)
- $N$ = Total number of pickets
- $w$ = Actual measured width of one picket (e.g., $3.5\text{ in}$ for nominal $1\times4$)
- $g$ = Exact gap width between pickets
Solving for the Exact Number of Pickets ($N$)
If you have a desired target gap ($g_{\text{target}}$):
$$N = \text{round}\left(\frac{L - g_{\text{target}}}{w + g_{\text{target}}}\right)$$
Solving for the Exact Equal Gap ($g$)
Once $N$ is chosen as an integer:
$$g = \frac{L - (N \times w)}{N + 1}$$
[!TIP] Never assume lumber matches its nominal label. A standard $1\times4$ cedar or treated pine picket is 3.5 inches wide, not 4 inches. Always measure a random sample of 5 to 10 boards from your bundle and use their true average width.
2. Worked Example: 96-Inch Post Opening
Let’s walk through an actual real-world scenario:
- Clear opening between posts ($L$): $96.0\text{ inches}$ (8-foot opening)
- Actual picket width ($w$): $3.5\text{ inches}$ ($1\times4$ dog-ear)
- Target gap ($g$): approximately $2.0\text{ inches}$
Step 1: Compute Picket Quantity
$$N = \frac{96 - 2.0}{3.5 + 2.0} = \frac{94}{5.5} \approx 17.09$$
Rounding to the nearest whole integer gives $N = 17$ pickets.
Step 2: Compute Actual Picket Span
Total width of all wood: $$17 \times 3.5 = 59.5\text{ inches}$$
Step 3: Compute Remaining Gap Span
Total remaining space for air gaps: $$96.0 - 59.5 = 36.5\text{ inches}$$
Step 4: Divide Across Gaps
Because there are $17$ pickets, there are $17 + 1 = 18$ equal gaps: $$g = \frac{36.5}{18} = 2.0278\text{ inches}$$
Converted to fractional carpentry measurement: $$2.0278\text{ in} \approx 2\text{ and } \frac{1}{32}\text{ inches}$$
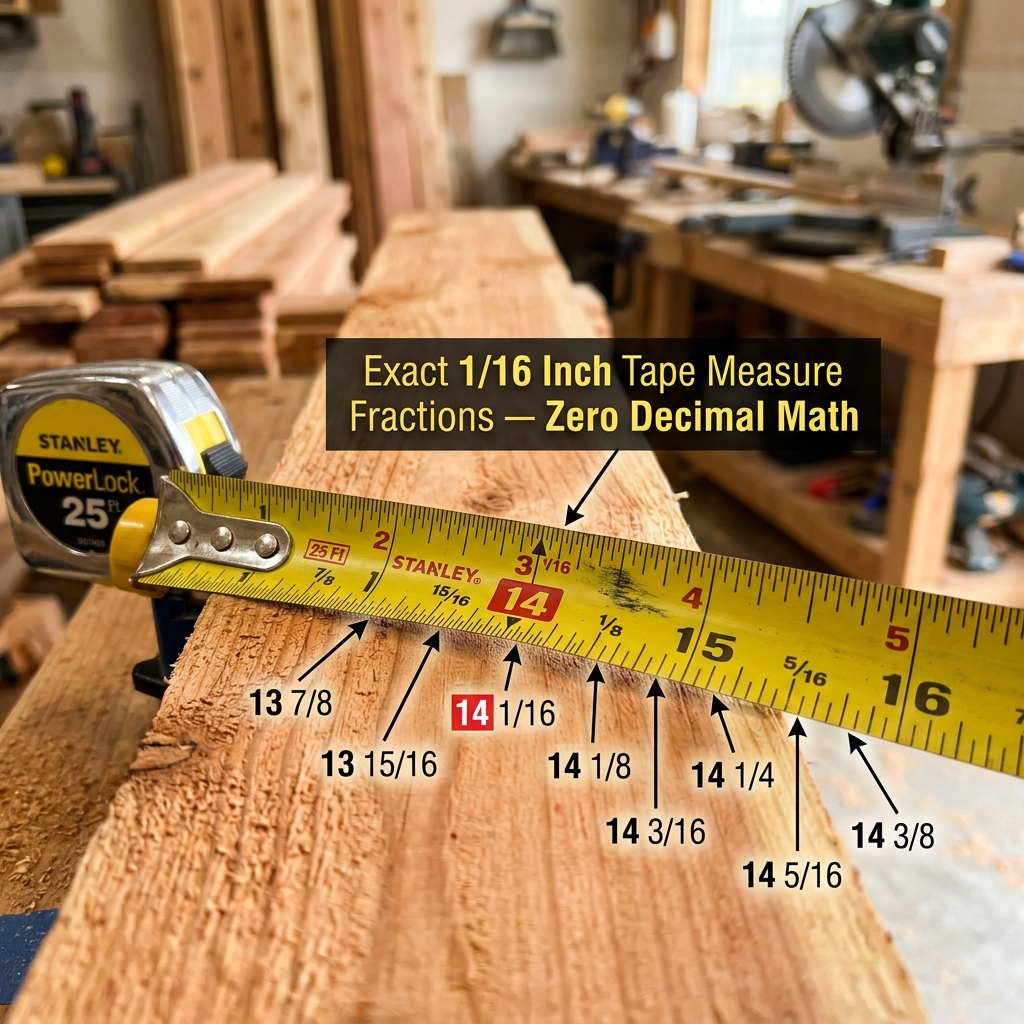
Rather than guessing with a tape measure, you can generate this exact calculation instantly with our Fence Picket Spacing Calculator.
3. Contractor Secret: Build a Custom Spacer Jig
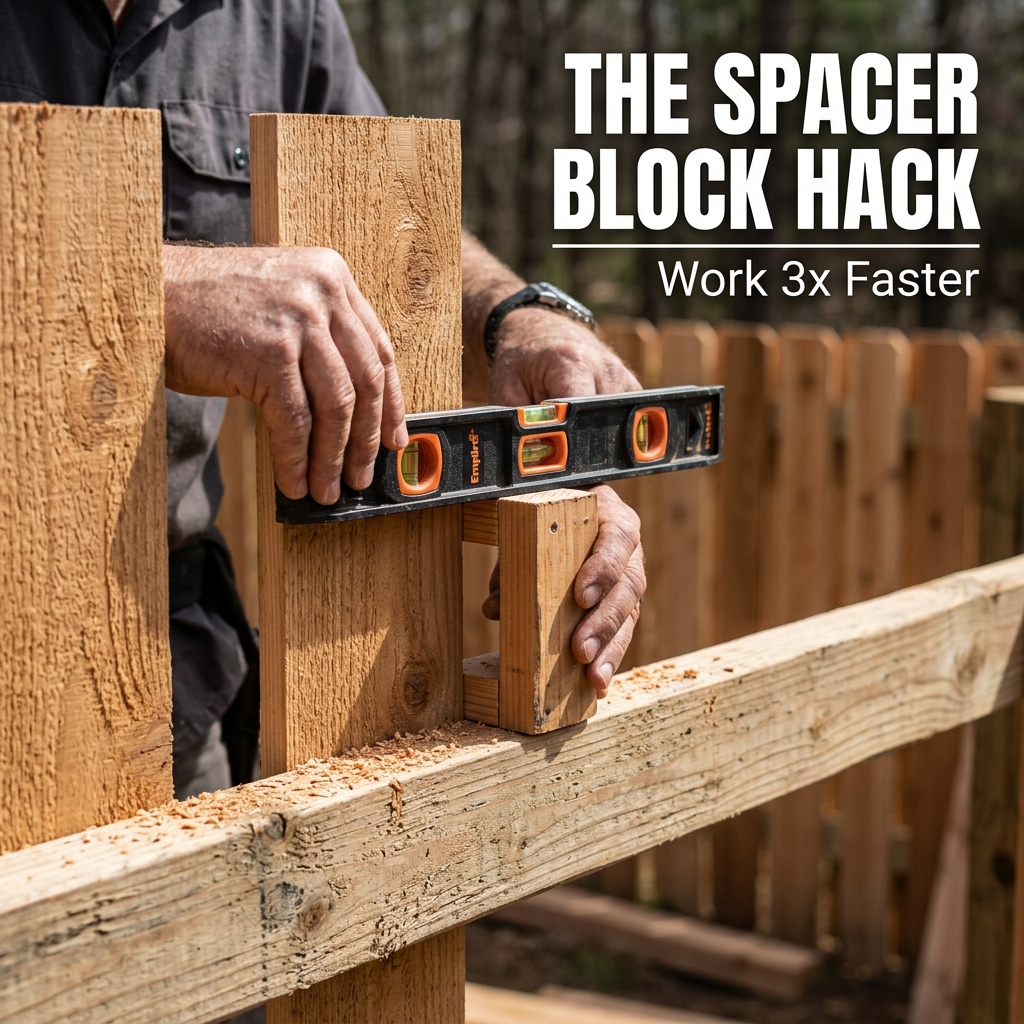
Never pull a tape measure for each board. In the trade, carpenter speed and perfection come from spacer blocks (jigs).
How to Build a Spacer Block:
- Rip scrap wood on a table saw: Rip a piece of hardwood, plywood, or 2x4 scrap to your exact calculated gap width ($2\text{ and } 1/32\text{ in}$).
- Attach a top hanging lip: Screw a small cross-piece to the top of the spacer block forming an inverted “T” or “L” bracket.
- Hang and clamp: The cross-piece rests on your top horizontal 2x4 rail, allowing the spacer to hang hands-free between the last nailed picket and your next board.
- Plumb verification: Check every 4th or 5th picket with a 4-foot torpedo or magnetic level to ensure you aren’t leaning off plumb. Wood expands and contracts, and boards can have slight crowns.
       [Top Rail]
  +-----------------------+
  |  [Picket]  |SPACER|  |
  |     #1     | BLOCK|  |
  |            |      |  |
  |            |      |  |
4. Key Rules for Professional Installation
1. Always Run a Top String Line
Ground levels rise and fall. Set your two end pickets next to the posts first, level their tops, and pull a bright nylon mason line taut across the tips. Set every intermediate picket so its top edge kisses the string line.
2. Fastener Selection
Always use 304 or 316 Stainless Steel or hot-dipped galvanized ring-shank nails. In cedar or pressure-treated lumber, standard steel fasteners will corrode and cause dark black tannin stains that permanently ruin the wood’s appearance.
3. Account for Green vs Kiln-Dried Lumber
- Green / Wet Pressure-Treated Pine: Installed wet, pickets will shrink as moisture evaporates. A tight 1.5-inch gap can open to 1.75 inches over the first summer.
- Kiln-Dried Cedar: Pre-dried cedar expands slightly when exposed to heavy rain. Leave at least a 1/4-inch to 3/8-inch expansion gap to prevent buckling or warping.
Summary Checklist
| Step | Action | Tool Required |
|---|---|---|
| 1. Measure Span | Measure clear opening at both top and bottom rails | 25’ Tape Measure |
| 2. Sample Pickets | Measure 5 random pickets to confirm true actual width | Calipers or Rule |
| 3. Calculate Math | Run the math using Fence Picket Calculator | Calculator Tool |
| 4. Cut Spacer | Rip spacer block to calculated gap fraction | Table Saw or Miter Saw |
| 5. Pull String | Fasten reference string line from post to post | Mason Line & Level |
| 6. Fasten Pickets | Nail pickets using spacer jig, checking plumb every 5 boards | Framing Nailer / Torpedo Level |
Ready to build the entire fence from post holes to gates? Follow our complete Step-by-Step Guide on How to Build a Picket Fence.
Save hours of trial and error on your next fence build by running your measurements through the interactive Fence Picket Spacing Calculator before cutting your lumber!